Setting up on a known point
This enables you to set up the total station over a known control point and then measure to one or more reference backsight control points to establish its position and orientation on the jobsite. In most cases, a single reference backsight control point may be all that is required. In other cases, where the accuracy of the work is higher, measuring more than one reference backsight control point can provide better control over the orientation of the total station and a further check that the control point at the total station position or any of the measured reference control point locations has not moved. You can follow similar steps to those used in the arbitrary location method of station establishment. Select from one of the following options:
-
From the Home menu, select Project Setup / Connect Device and tap
 . If you have just connected to the total station, the software prompts you to select the station establishment method. Select the Set up on a known control point option and then click ACCEPT.
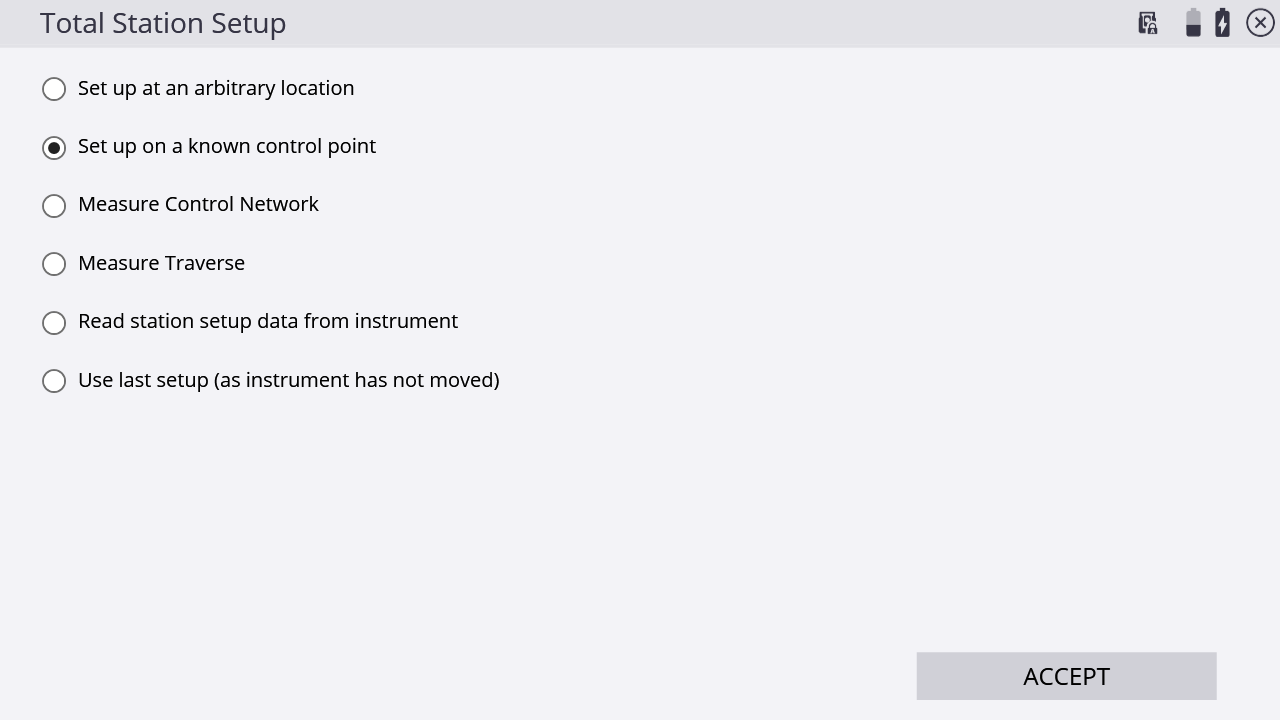
-
Select the instrument’s location point by tapping directly on it in the map screen, typing the name into the text box, or from the list, by tapping
 in the upper right side and then tapping ACCEPT:
-
Enter the instrument height:
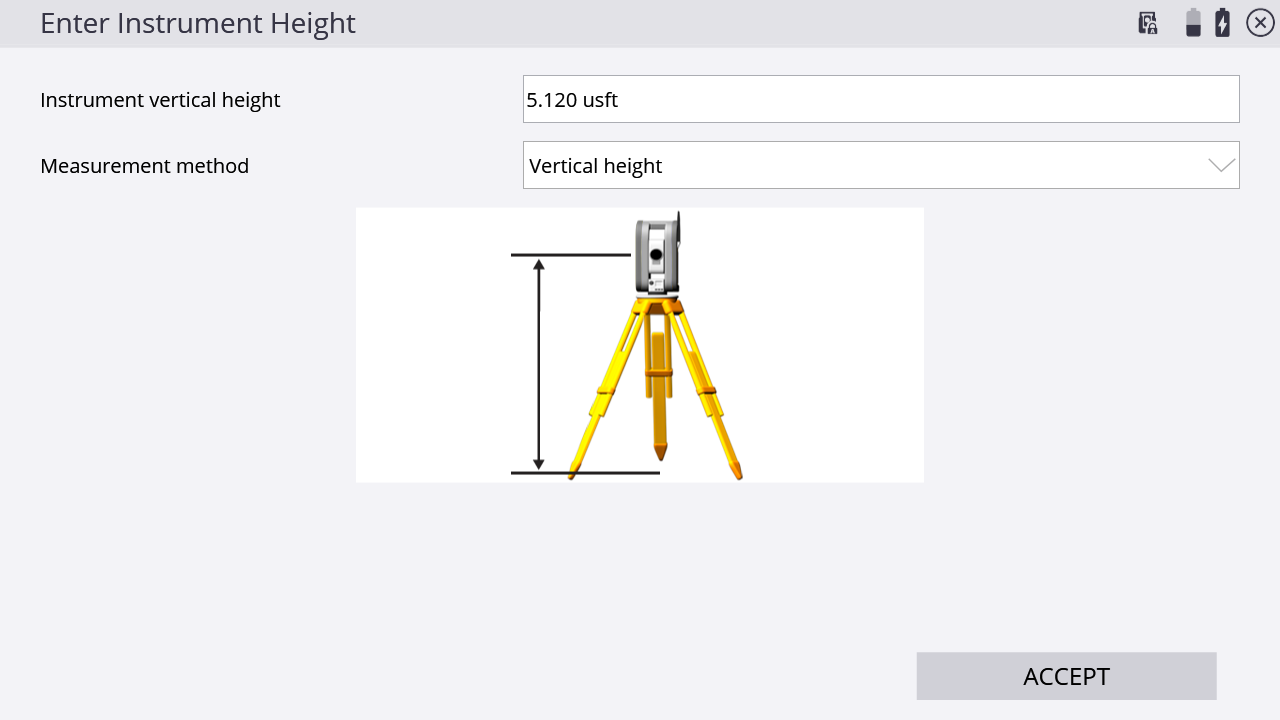
The instrument height can be measured in two ways:
-
a vertical height from the ground surface to the center cross-hair mark on the side of the instrument.
-
the slope height measured directly from the control point to the bottom notch on the side of the instrument.
Selecting the slope height is generally easier to perform more accurately in the field, due to potential height variations between the control point hub and the surrounding ground surface. In version 1.60 and earlier, the default height method was always vertical. Version 1.70 and later will default to slope height as the height method.
NOTE – If a slope height is entered, the vertical height is automatically calculated by adding .156 m (.511 feet) to the slope height; the updated vertical height is then displayed as the instrument height in the Save Instrument Point window.
-
-
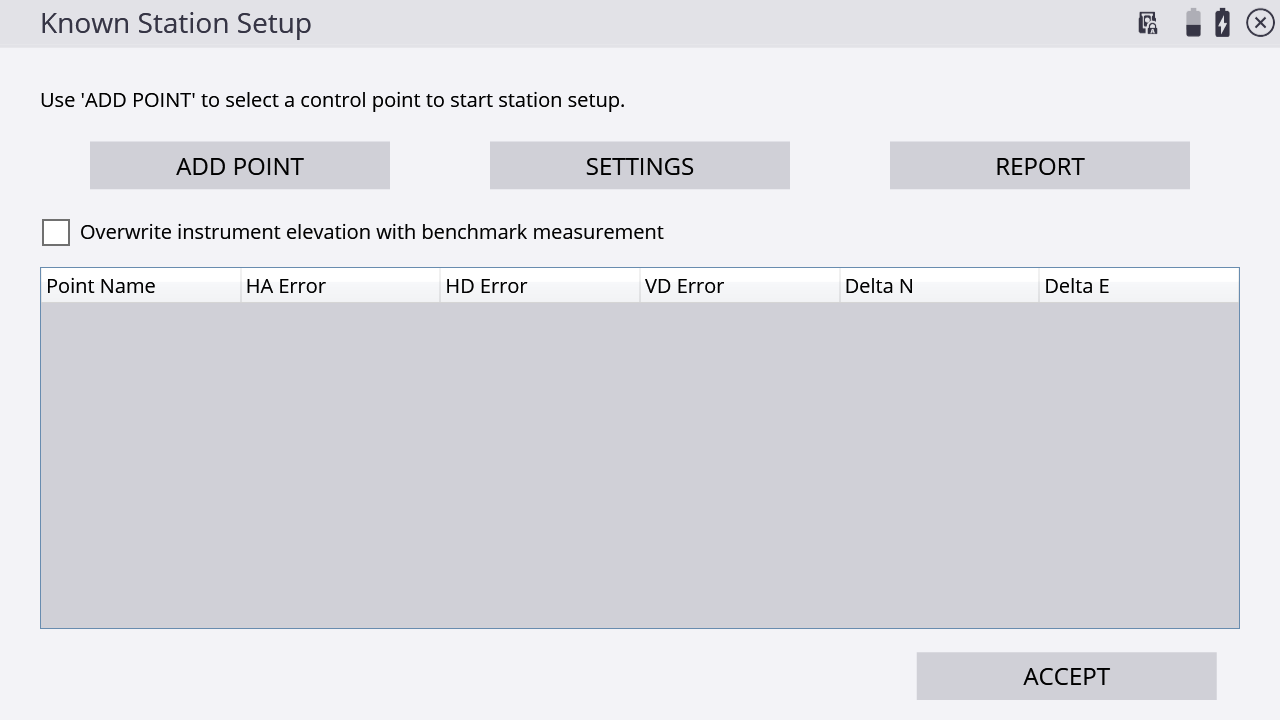
Add at least one control point to backsight to. Tap ADD POINT.
-
Select a point on the map by tapping directly on it and entering the name into the text box, or from the list, by tapping
in the upper right side and then tapping SELECT: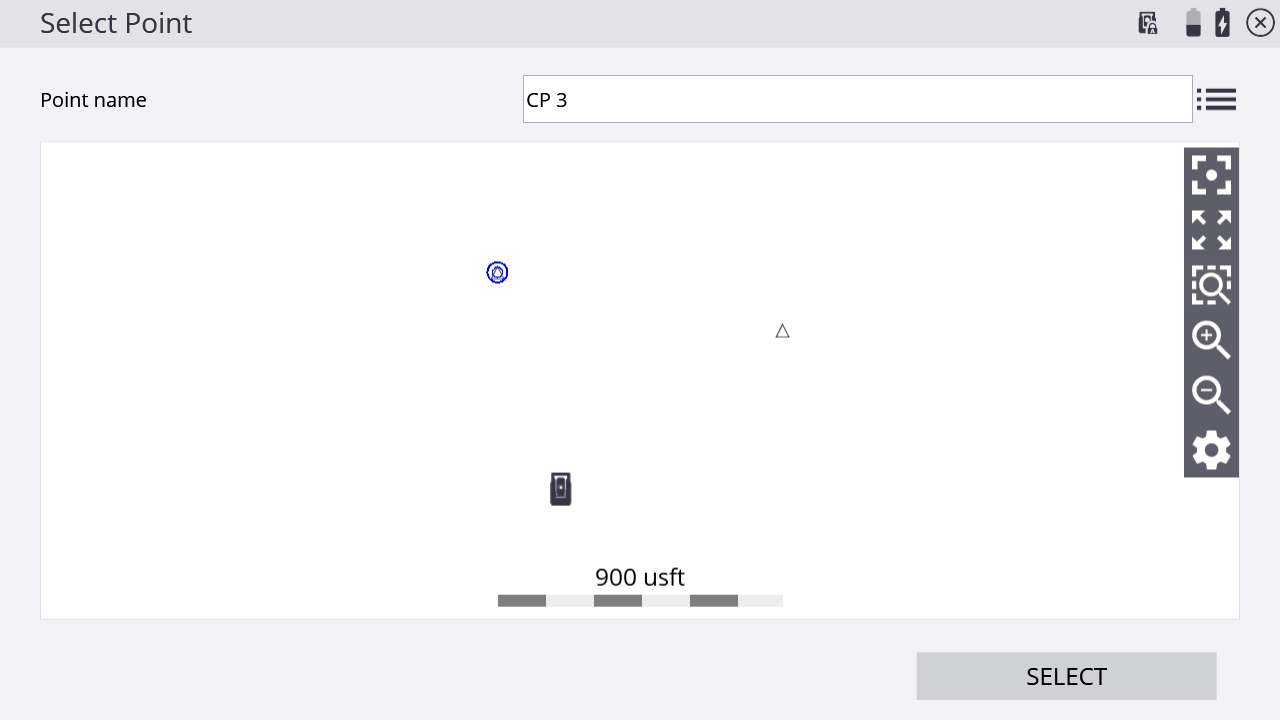
-
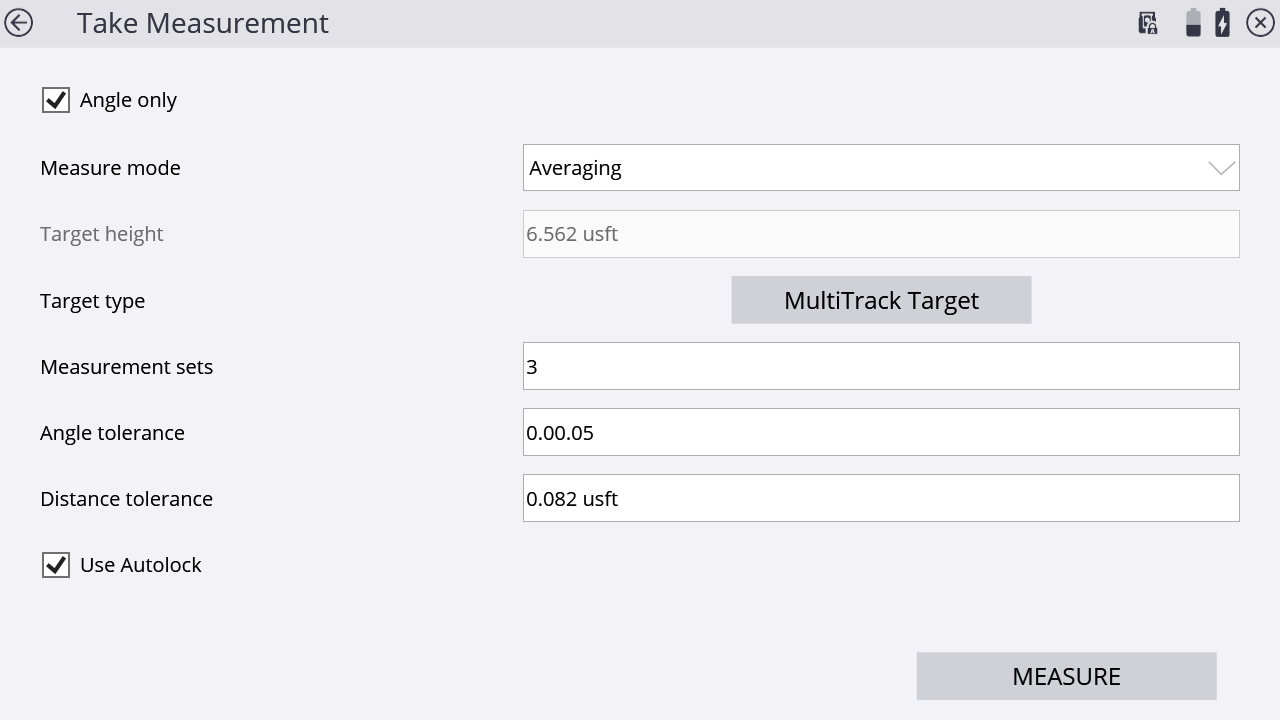
Configure your measurement settings by selecting the measurement mode (Standing, Averaging, DR, DR Target, or DR Averaging), prism target type and height (in Standing and Averaging modes), DR options (in DR, DR Target, or DR Averaging modes), measurement sets and tolerances (in Averaging and DR Averaging modes), and whether Angle only and/or Autolock (for prism targets) measurements should be used:
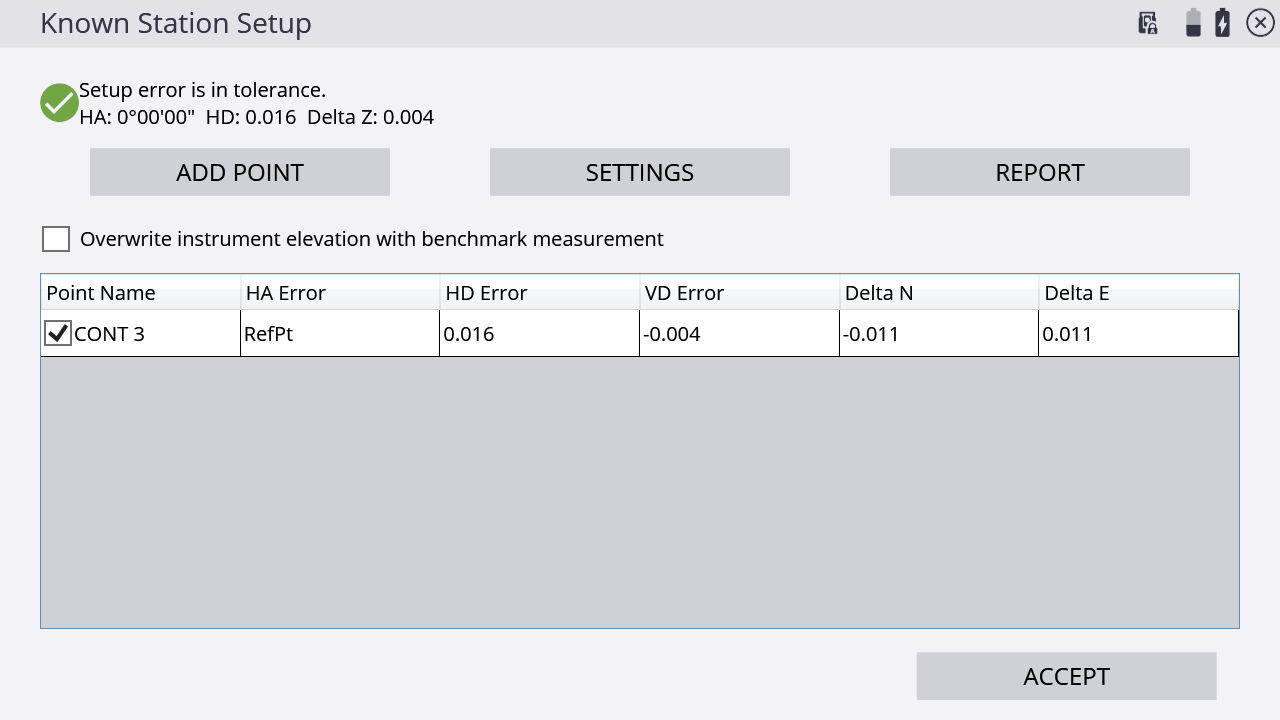
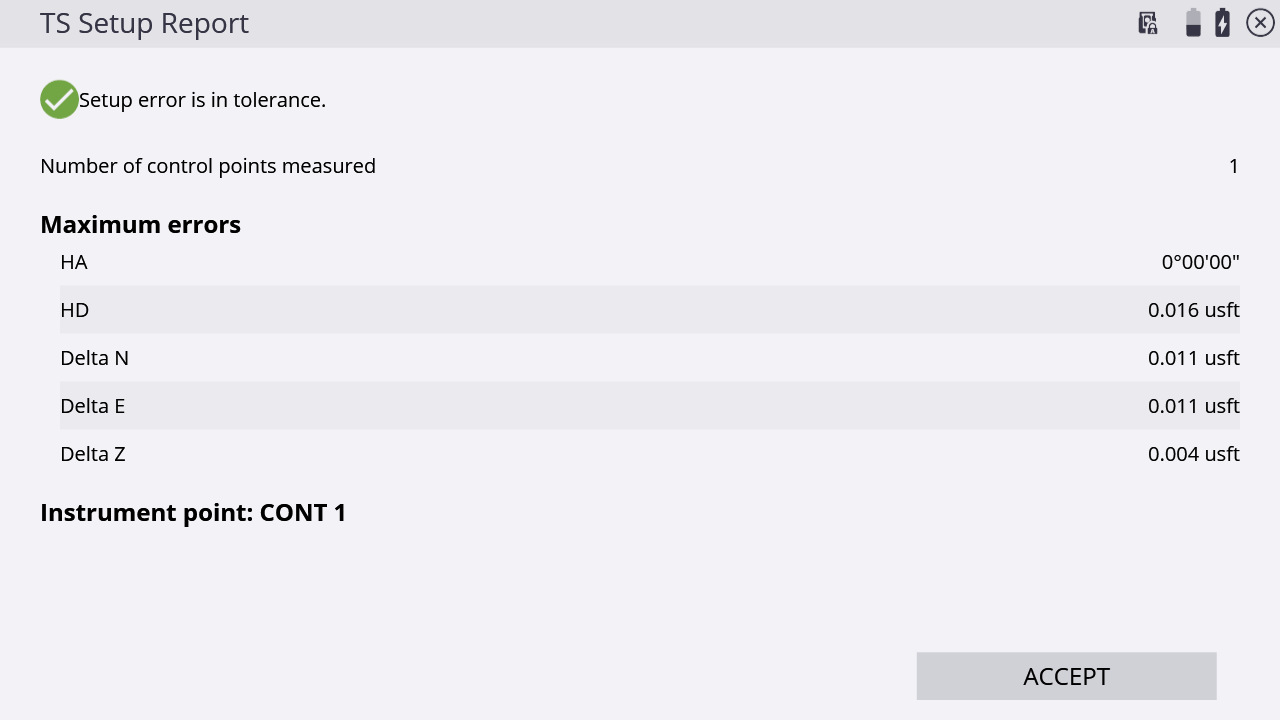
After the measurements are complete, the Station Setup table indicates if the setup is in or out of tolerance:
-
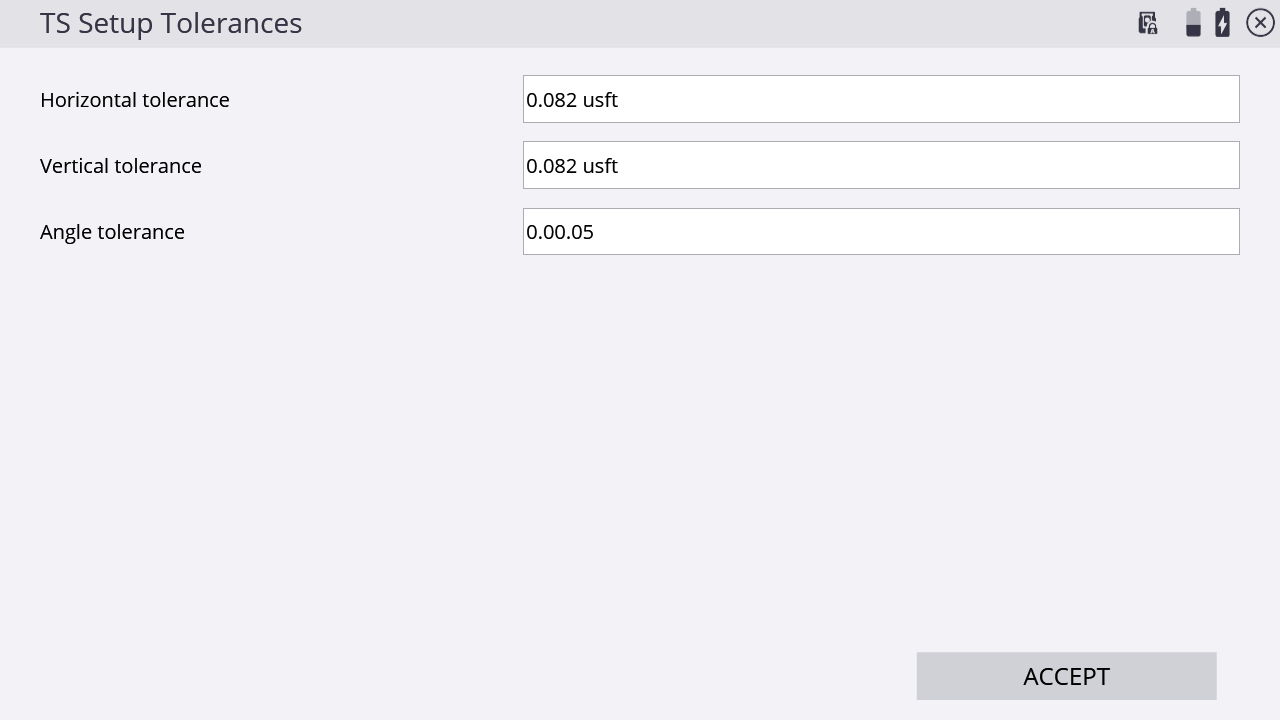
Tap Settings to adjust the setup tolerances for horizontal and vertical distances and angle tolerance:
-
Tap Report to get more detailed information about the setup quality of the station:
-
To change the instrument elevation by shooting in a benchmark point, select the Overwrite instrument elevation with benchmark measurement checkbox. At the end of the measurement process, you are prompted to shoot a benchmark point from which the station elevation will be calculated:
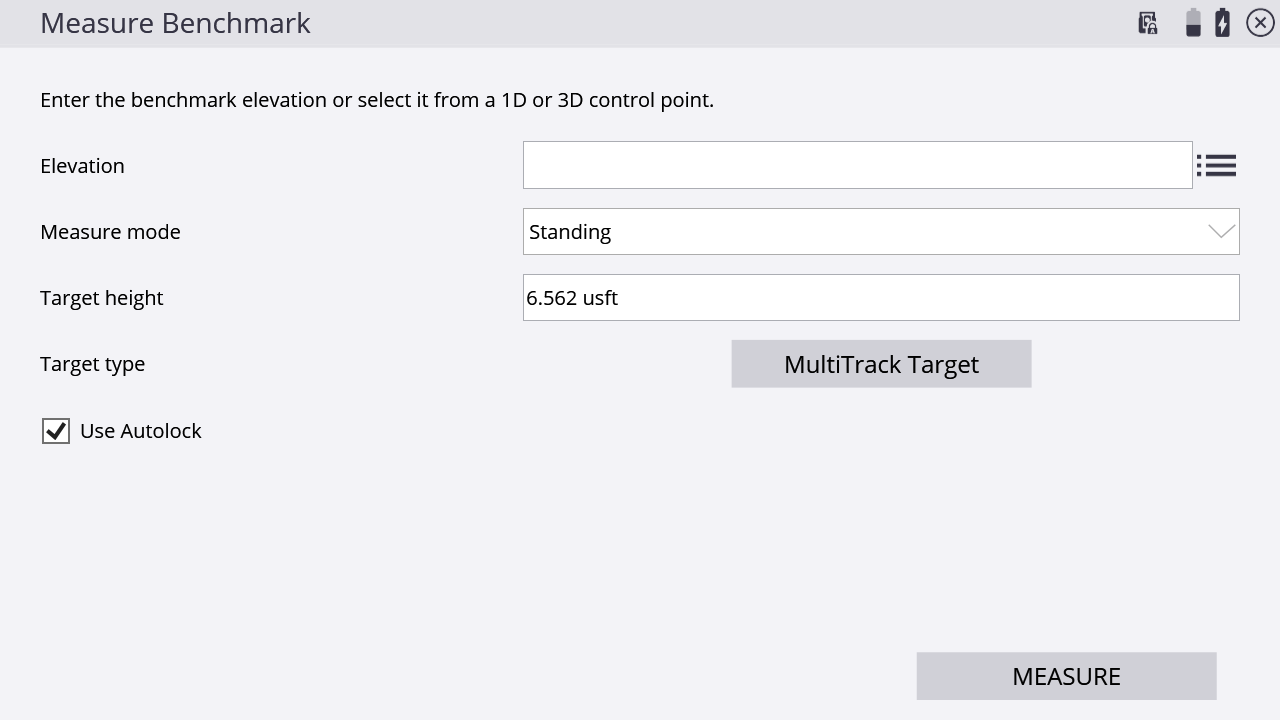
NOTE – The station elevation is calculated relative to this benchmark elevation; it does not simply set the instrument elevation to the benchmark elevation.
